If you’ve ever watched a dancer nail a pirouette, a dynamic jazz sequence, or a smooth contemporary flow, you might not have stopped to think about what makes that performance look so effortless. It’s not just years of practice or raw talent—it’s the dance flooring beneath their feet. As a dance flooring supplier, I’ve spent more time than I can count troubleshooting installations, answering panicked calls from studio owners at 8 a.m. before opening, and walking through new build projects to make sure every detail is right. Over the past 12 years in this business, I’ve learned that a dance floor that works long-term doesn’t just get laid down—it’s installed with intention, and every requirement plays a critical role. Today, I’m breaking down the real, non-negotiable installation requirements that turn a regular floor into a dancer’s best tool. Dance Flooring
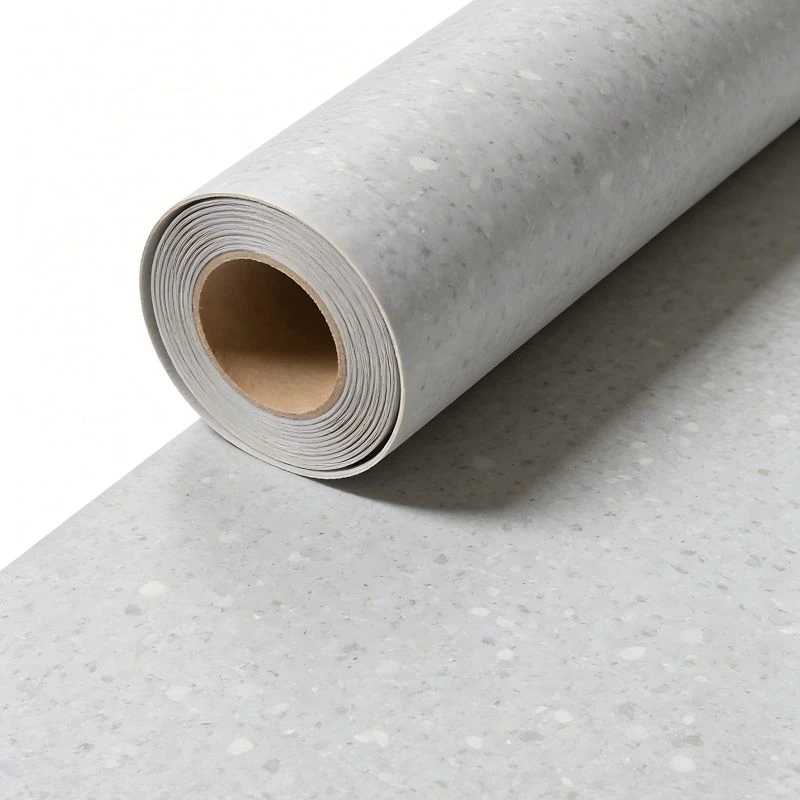
Let’s start with the foundation, because the dance floor itself is only as good as what’s under it. I can’t tell you how many times a studio owner will call me a week after a new floor is laid, complaining of ripples, unevenness, or that annoying “thud” when dancers land, only to admit they skipped the subfloor prep. This is not a step to cut corners on. The subfloor needs to be flat, level, rigid, and completely dry—nothing else will do. For wood subfloors, the maximum allowable deviation across any 10-foot span is just 3/16 of an inch. That’s about the thickness of a dime, and even a tiny gap or high spot here will show up on a dance floor like a pothole on a highway. I once worked with a small ballet studio that tried to save $200 on subfloor leveling and ended up redoing their entire dance floor six months later because a single hump in the subfloor warped the surface so badly, pointe work became impossible. For concrete subfloors, the requirements are even stricter. First, there has to be a vapor barrier. I always specify a 15-mil cross-laminated polyethylene film—nothing thinner. Concrete is porous, and even if it looks dry, it releases moisture that will bubble up and ruin the adhesive or interlocking edges of your dance flooring within a year. You also need to check the pH level of concrete. If it’s above 10, that’s a problem; it can break down the flooring materials and cause discoloration. The only way to confirm this is with a simple pH test kit, which costs less than $50 but saves you thousands in damage later. And don’t forget about cracks. Any crack wider than 1/8 inch in concrete needs to be filled with a flexible concrete caulk before you even think about laying the dance floor.
Next, the environment of the room where you’re installing. Dance flooring, whether it’s hardwood, vinyl, or modular performance tiles, is made of materials that are sensitive to extreme temperature and humidity. I’ve had customers in Phoenix call saying their brand-new vinyl dance floor cracked in the summer, and when I checked their room, they didn’t have any HVAC. Dancers need consistent conditions to perform, and so does their floor. The ideal temperature range is between 60 and 75 degrees Fahrenheit. Too hot, and materials expand; too cold, and they shrink—both can cause gaps, buckling, or warping. Humidity is even more critical. For most standard dance flooring, the relative humidity in the room should stay between 40 and 60 percent. I recommend using a hygrometer in the room for at least three days before installation to make sure the levels stabilize. If a room is too humid (like a basement without ventilation), wood floors will swell, and adhesive won’t set properly. If it’s too dry (like an attic in the winter), wood floors will shrink, creating creaks or gaps. I once worked with a community center that installed their dance floor in a new building during construction, before the HVAC was fully functional. By the time the center opened, the floor had expanded so much that it pressed against the walls and buckled in the middle. They had to remove half the floor to fix it. Always test and adjust HVAC before installation—this is non-negotiable.
Then, choosing the right installation method. This depends on what type of dance flooring you’re using and the needs of your space. Let’s break down the most common options, because what works for a professional studio won’t work for a rec center with rotating classes. Glue-down installation is the go-to for permanent hardwood or high-performance vinyl floors. The key here is using the correct adhesive for both the flooring and the subfloor. If you use a general-purpose adhesive for a vinyl floor on concrete, it will fail—guaranteed. I always stock industry-specific adhesures that I’ve tested over years, because generic options are a waste of time and money. For modular interlocking tiles, which are perfect for temporary spaces or areas that need flexible layout, the installation is much simpler, but you still can’t just lay them on any surface. They need a smooth, level base, and if you’re installing over concrete, you need to make sure the surface is free of dust and debris. A lot of people think interlocking tiles are just “click and go,” but if there’s even a small piece of gravel under one tile, it will lift and cause a trip hazard. For floating floors, which are popular for larger spaces like gymnasiums that double as dance studios, the planks or tiles lock together and don’t adhere to the subfloor. The here is an underlayment—you can’t skip this. The underlayment provides cushioning, sound absorption, and protects the flooring from subfloor imperfections. It should be ¼ inch thick at minimum, and for spaces with a lot of pointe work, I recommend a ⅜ inch felt or foam underlayment to reduce impact on dancers’ joints. I once saw a high school dance team install floating floors without underlayment, and several of their pointe dancers got stress fractures in their feet within a month. That’s the kind of avoidable mistake that comes from cutting corners on installation details.
Now, the final steps that many people overlook: acclimation and post-installation care. Acclimation is when the dance flooring is left in the installation room for 48 to 72 hours before it’s laid down, to adjust to the room’s temperature and humidity. This is especially important for wood floors and vinyl, which expand or contract based on their environment. If you bring a pallet of vinyl tiles from a warehouse in a cold area and install them directly in a warm, humid dance studio, by the end of the week, they will have expanded so much that they buckle. I always remind my customers to schedule delivery at least three days before installation to let the flooring acclimate. Once the floor is installed, there’s a waiting period before it’s ready for use. For glue-down floors, that’s usually 72 hours—no dancing, no moving furniture, nothing. For floating floors, it’s 24 hours. I’ve had studio owners rush to open early and damage the floor, which voids the warranty. And don’t forget about expansion gaps. All dance floors need a small gap (usually ½ to ¾ inch) around the perimeter of the room, next to walls, pillars, and any other fixed structures. This gives the flooring room to expand and contract without buckling. If you skip these gaps, you’re basically guaranteeing problems down the line.
Over the years, I’ve also learned that every dance space has unique needs, so customization is key. A professional ballet studio needs a floor with more cushioning for pointe work, while a hip-hop studio needs a harder surface for jumps and spins. A small home studio might need something easy to install and store, while a large community center needs a durable floor that can handle hundreds of dancers a day. No matter what, though, the installation requirements stay consistent. You can have the best dance floor on the market, but if you don’t prep the subfloor properly, don’t check the room’s environment, or skip small steps like expansion gaps or acclimation, it won’t perform the way it’s supposed to—and that’s bad for dancers, bad for you, and bad for me as a supplier.
I’ve been in this industry long enough to know that good dance flooring is an investment. Dancers rely on their floors to feel safe, to help them perform at their best, and to last for years of use. I’ve seen too many people save a little money on installation and end up paying a lot more to fix a floor that was installed wrong. That’s why I always work closely with my customers, walking them through every step of the installation process, answering their questions, and making sure they have everything they need. Whether you’re opening a new dance studio, renovating an existing space, or equipping a school’s dance program, getting the installation right is the most important part of getting a floor that works for you.
If you’re planning a dance floor installation and need guidance on requirements, products, or next steps, I’m here to help. Reach out to discuss your specific space, budget, and dancer needs, so we can make sure your new floor is installed correctly from day one.
ESD Flooring References:
- National Dance Education Organization. (2020). Dance Studio Facility Design and Safety Guidelines.
- Sports and Fitness Industry Association. (2019). Performance Flooring Standards for Dance and Gymnastics.
- Resilient Floor Covering Institute. (2021). Installation Requirements for Vinyl and Rubber Flooring in Performing Arts Spaces.
- Wood Flooring Association. (2022). Guidelines for Installing Wood Dance Floors.
Qingdao Xinkailin Environmental Protection Materials Co., Ltd.
As one of the most professional dance flooring manufacturers and suppliers in China, we’re featured by quality products and good price. Please rest assured to buy premium dance flooring for sale here from our factory. Also, custom service is available.
Address: Room 618, Hedaxinduhui, No. 196 Tailiu Road, Shibei District, Qingdao City
E-mail: laura@xklflooring.com
WebSite: https://www.xklflooring.com/
